How To Give Yourself An At-Home Facial
As wonderful as it would be, not all of us can afford the luxury of being pampered to a professional facial whenever we please. Either there isn’t enough time in the day, or we just can’t spend the money …alas. Thankfully, there is a way to treat yourself to an at-home facial that will not cost you the time and money. Just follow these simple steps and you are on your way to a better complexion.
Step one: Cleanse your face
This step is the most important to ensure that your at-home facial is effective. If you don’t have a clean face and you start applying products, the dirt and makeup will keep the nutrients from penetrating the deep layers of your skin.
How to cleanse correctly: If you are wearing heavy makeup we recommend using a makeup remover cloth to initially remove the products. WARNING: Makeup remover cloths do not get deep into pores to remove dirt from the day. That is why you MUST cleanse your face after. Start by applying lukewarm water that will open your pores and allow the cleanser to clean deep into your skin. Next, apply a dime-sized portion of cleanser to your face (like our favorite cleansers Purification and Flush). Using your ring and middle fingers, start massaging with medium pressure in upward circles. After about two minutes, rinse your face with lukewarm water, and gently pat dry with a dry towel.
Step Two: Exfoliate
Now that your face is nice and clean, it’s time to exfoliate. By exfoliating, you are removing unwanted dead skin, smoothing out the appearance of fine lines, and reducing the size of pores. You will also be opening up your skin even more so that the products you apply after exfoiliating will penetrate further.
How to exfoliate correctly: First, apply a dime-sized amount of product, such as Scrub or Refresh, to the skin. Use the same massaging technique as when cleansing for about one to two minutes. Another way to exfoliate is by using a Clarisonic brush. **Only exfoliate two to three times a week.
Step 3: Steam out the grime
Now, this is really when you get to feel like you are at a spa. Steam can be the most relaxing part of a facial and it really opens up the pores to get out dirt and grime.
How to steam: The easiest way to steam is to purchase a facial steamer. There are relatively cheap options on Amazon here. Or, you can really go DIY and steam by carefully bringing water to a boil in a large pot. Either way, make sure you use a towel to drape over your face before applying the steam. If you are using the pot method, slowly lean your face over the pot so that your face is directly over the steam. Make sure you don’t get too close. The steam should feel warm, not hot. Also, to make the experience that much better, add in some natural scents. Rose petals, lavender, rosemary, or a few drops of your favorite essential oils can really take it to the next level.
Steam for 10-15 minutes, with breaks if needed. For those with sensitive skin or rosacea, steaming might not be best suited for your skin type.
Step 4: Extract the blackheads
Ok, so when extracting blackheads, you must be very careful. If you trust yourself to not go full-on attack mode when getting out your blackheads, then follow this method.
How to properly extract blackheads: We recommend investing in the proper tools to remove your blackheads, like the ones here. If you want to go the DIY route, then what you need to do is wrap tissue around each index finger and slightly apply pressure to your blackheads (most likely in the T-zone: forehead, nose, and chin). They should come out easily. If they don’t, do not push or scratch deeper, this could cause tearing.
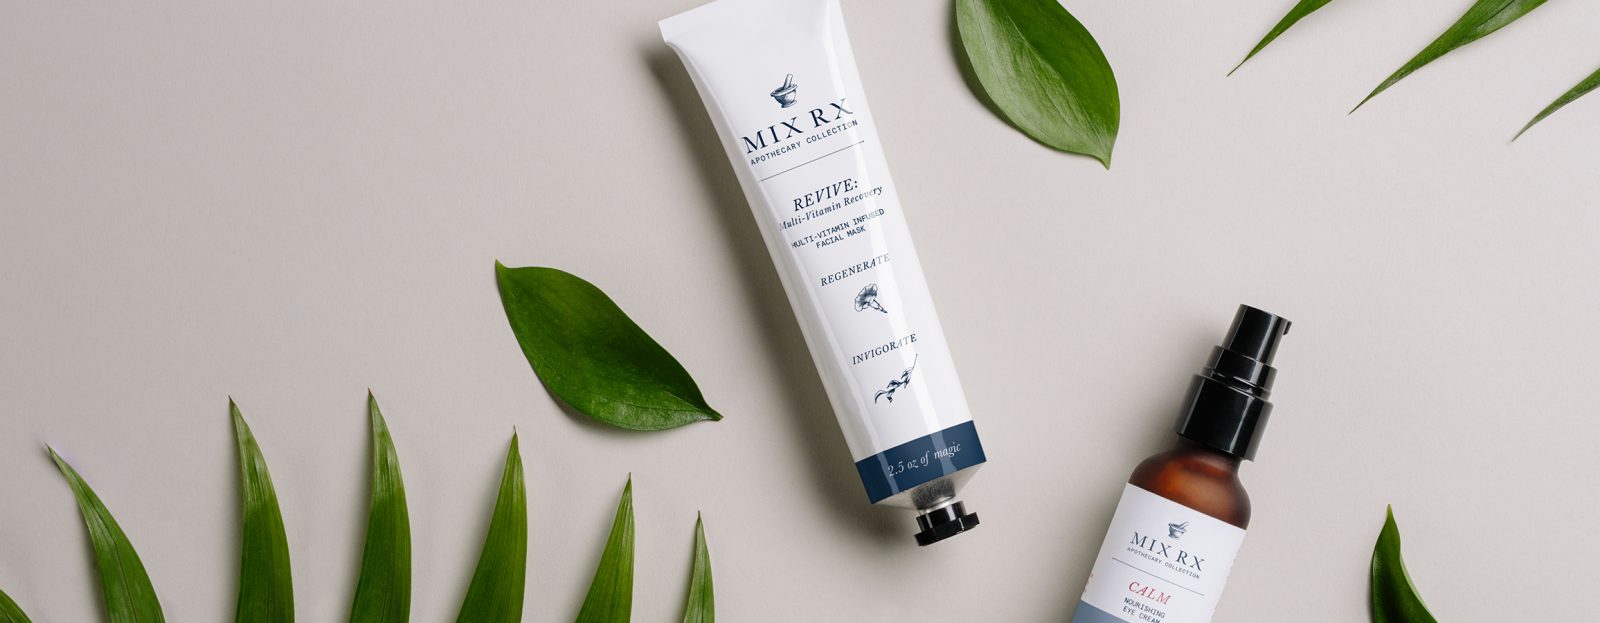
Step 5: Mask time
After all of that hard work, it is time to relax. Applying a treatment mask following cleansing, exfoliating, and steaming will allow for your skin to soak up all of our products yummy vitamins and nutrients.
Choose a mask that is perfect for your skin type. Revive: multi-vitamin recovery mask is perfect for those with dry and normal/sensitive skin types. If you have more of an oily to normal/combination skin type try out Renew: volcanic mud mask. Apply the mask of your choice and leave it on for about 20 minutes (add some cucumbers to your eyes for the full effect). Then remove the mask with a washcloth and follow with a splash of cold water.
Step 6: Finish with your daily facial routine
Next, you can apply all of the products you normally would in the morning or evening. Start with a toner, then move on to a serum, following with a moisturizer.
Recommended reads if you are looking for skin care routines:
Your perfect morning skin care routine
The only p.m. skin care routine you need to know
Have your own at-home facial regiment? We would love to hear about it! Let us know here.
How To Minimize Blackheads and Enlarged Pores
Blackheads, the pesky build-up of oil and dead skin that cease to go away, no matter what you do. Well, we are here to tell you that there are a few tricks to minimize these unwanted clogged pores. There are products and routines you can try out to get that smooth, clear complexion you crave. […]
READ BLOG POST